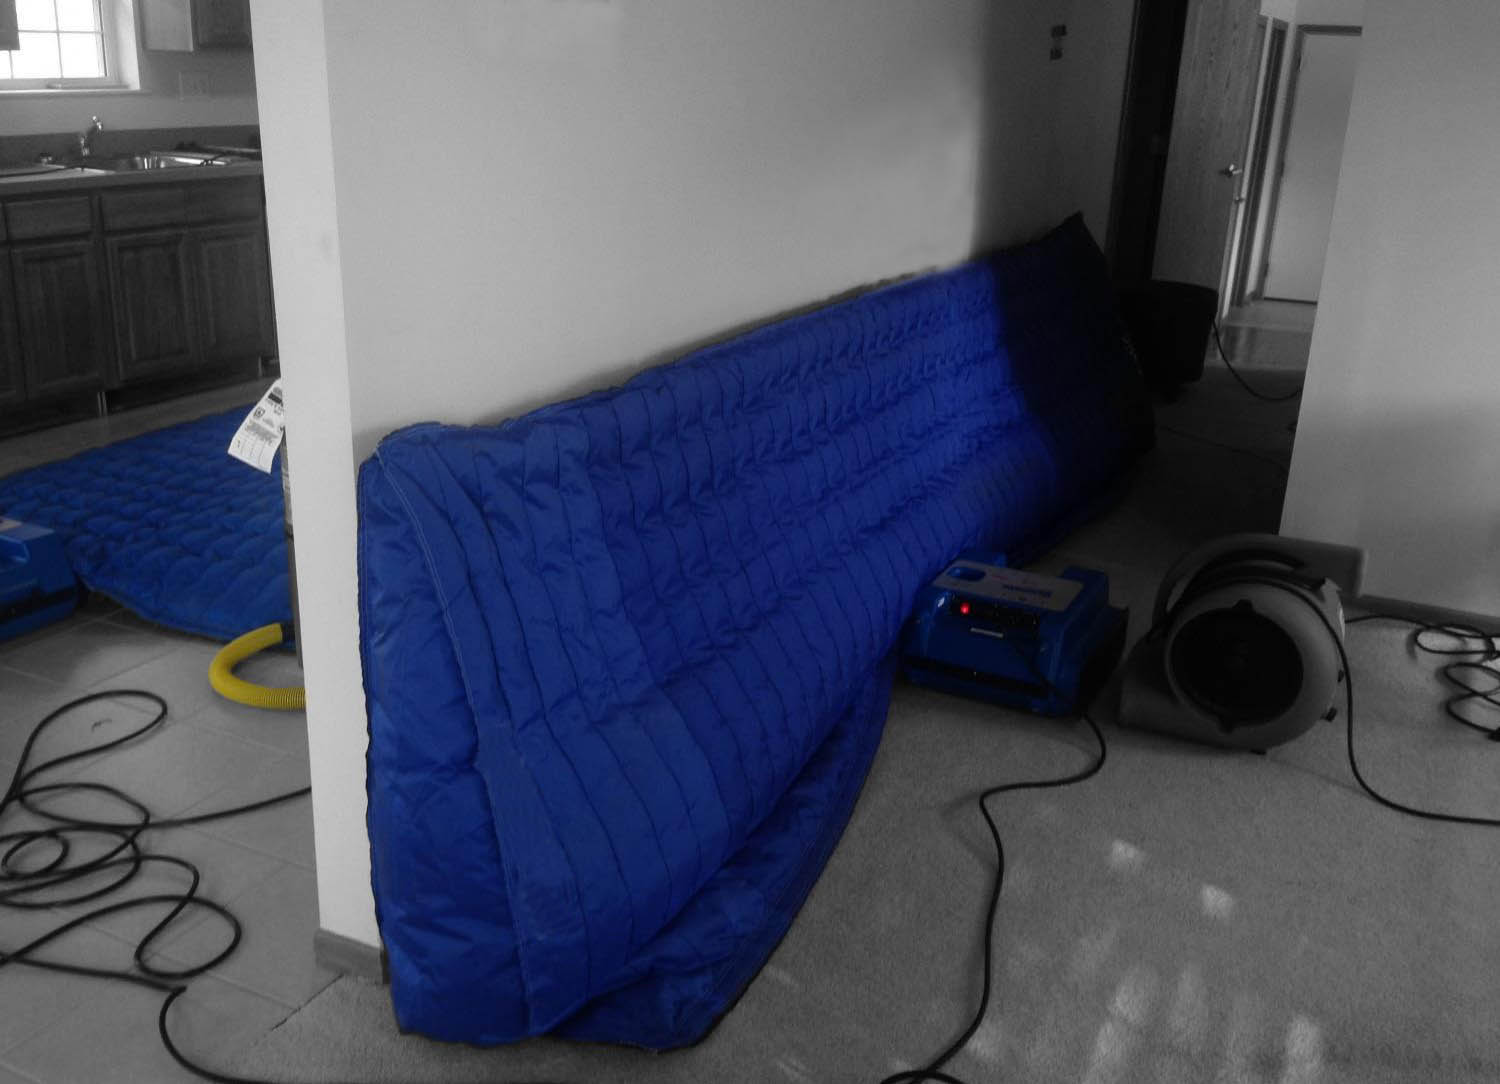
Wall & Cavity Drying with Drymatic Equipment
What's in your arsenal for these hard-to-reach areas?
Drying wall cavities, crawlspaces, and other tight spaces has been an ongoing struggle through the years. In the past, water inside the wall was rarely addressed. We often attempted to dry an entire room for the sake of one lower wall. Sometimes creative, labor intensive tenting schemes seemed like the only way. These methods regularly took so long to dry that secondary damage occurred, creating costly strip out, trashing base board, sheetrock, insulation, and your timeline. The goal of any water restoration project is to return the structure to a pre-loss condition, right? Contemporary thought is to actually dry materials in place, rather than demolish and replace. This is particularly true of wall and ceiling cavities.
The next step in the evolution of drying was ‘injection drying systems:’ pumping pressurized air into walls, ceilings, and underneath floors. These machines were a huge technological advancement. They introduce additional air flow into spaces that need it desperately. Injection drying undoubtedly delivered better services and healthier results. These systems work by using an air pump and hose system to inject air (often heated) through small nozzles into hidden air spaces. Holes are drilled into drywall or under cabinets, in the least conspicuous locations. Next, the nozzles are inserted and pressurized air is pumped in. This technique works well to dry out inaccessible areas without cutting excessively large ventilation holes. One downfall to this methodology is the extensive prep and setup. It is recommended that you drill multiple holes per cavity, and allow the full run of hose with nozzles open to maintain the proper pressure. In addition, the loud noise and conditions caused by this equipment are not optimal for the home or business owner, but it is important that all equipment remain powered on for the duration of the process.
The addition of heat plays a key role in the speed of today’s jobs. Drying faster can indisputably eliminate or reduce strip out, and lessen the risk of secondary damage. In the past, you could simply tent or chamber off an area to decrease the volume of air you are heating, subsequently pulling that hot air into your pressure drying system. Auxiliary heaters come in all shapes and sizes, and vary in how they are fueled/powered. Let’s focus on the indoor-friendly electric options. Several manufacturers have begun to offer injection drying solutions that attach directly to the heat source. This concept has made it possible to get evenly distributed hot air into cavities and tight spaces without the need to heat the entire living space. These types of injectors are less intrusive and still provide a significant amount of warm dry air with holes that are small enough to maintain fire-rated wall integrity. They also offer a base unit that adds absolutely no noise to your environment. For those con- tractors that are leery of the possibility of too much heat, or those operating as RIA member organizations within the ‘Safe Harbor’ guidelines- the precision limits available with some of the latest entrants to the market can guarantee your peace of mind.
These drying systems can be very effective, but what if demolition or holes in the material aren’t an option? A few months back I found myself in a high- end residence in the Thornblade subdivision of Greenville, SC. The homeowner had just endured a lengthy remodel before leaving town for six weeks. While they were gone they had not one, but two inside a 16x20’ bathroom (one in the wall, and one at the base of the toilet). The leaks were finally fixed when the owners returned. They insisted that not one tiny hole or hairline fracture was to be allowed in the new floor-to-ceiling tilework. The leaks were fixed from outside and under the house. Conventional techniques were not making a dent in the drying project, thus the integrity of two engineered floor trusses was coming into question. The general contractor needed to get creative with little time to spare. He made the decision to try something new.
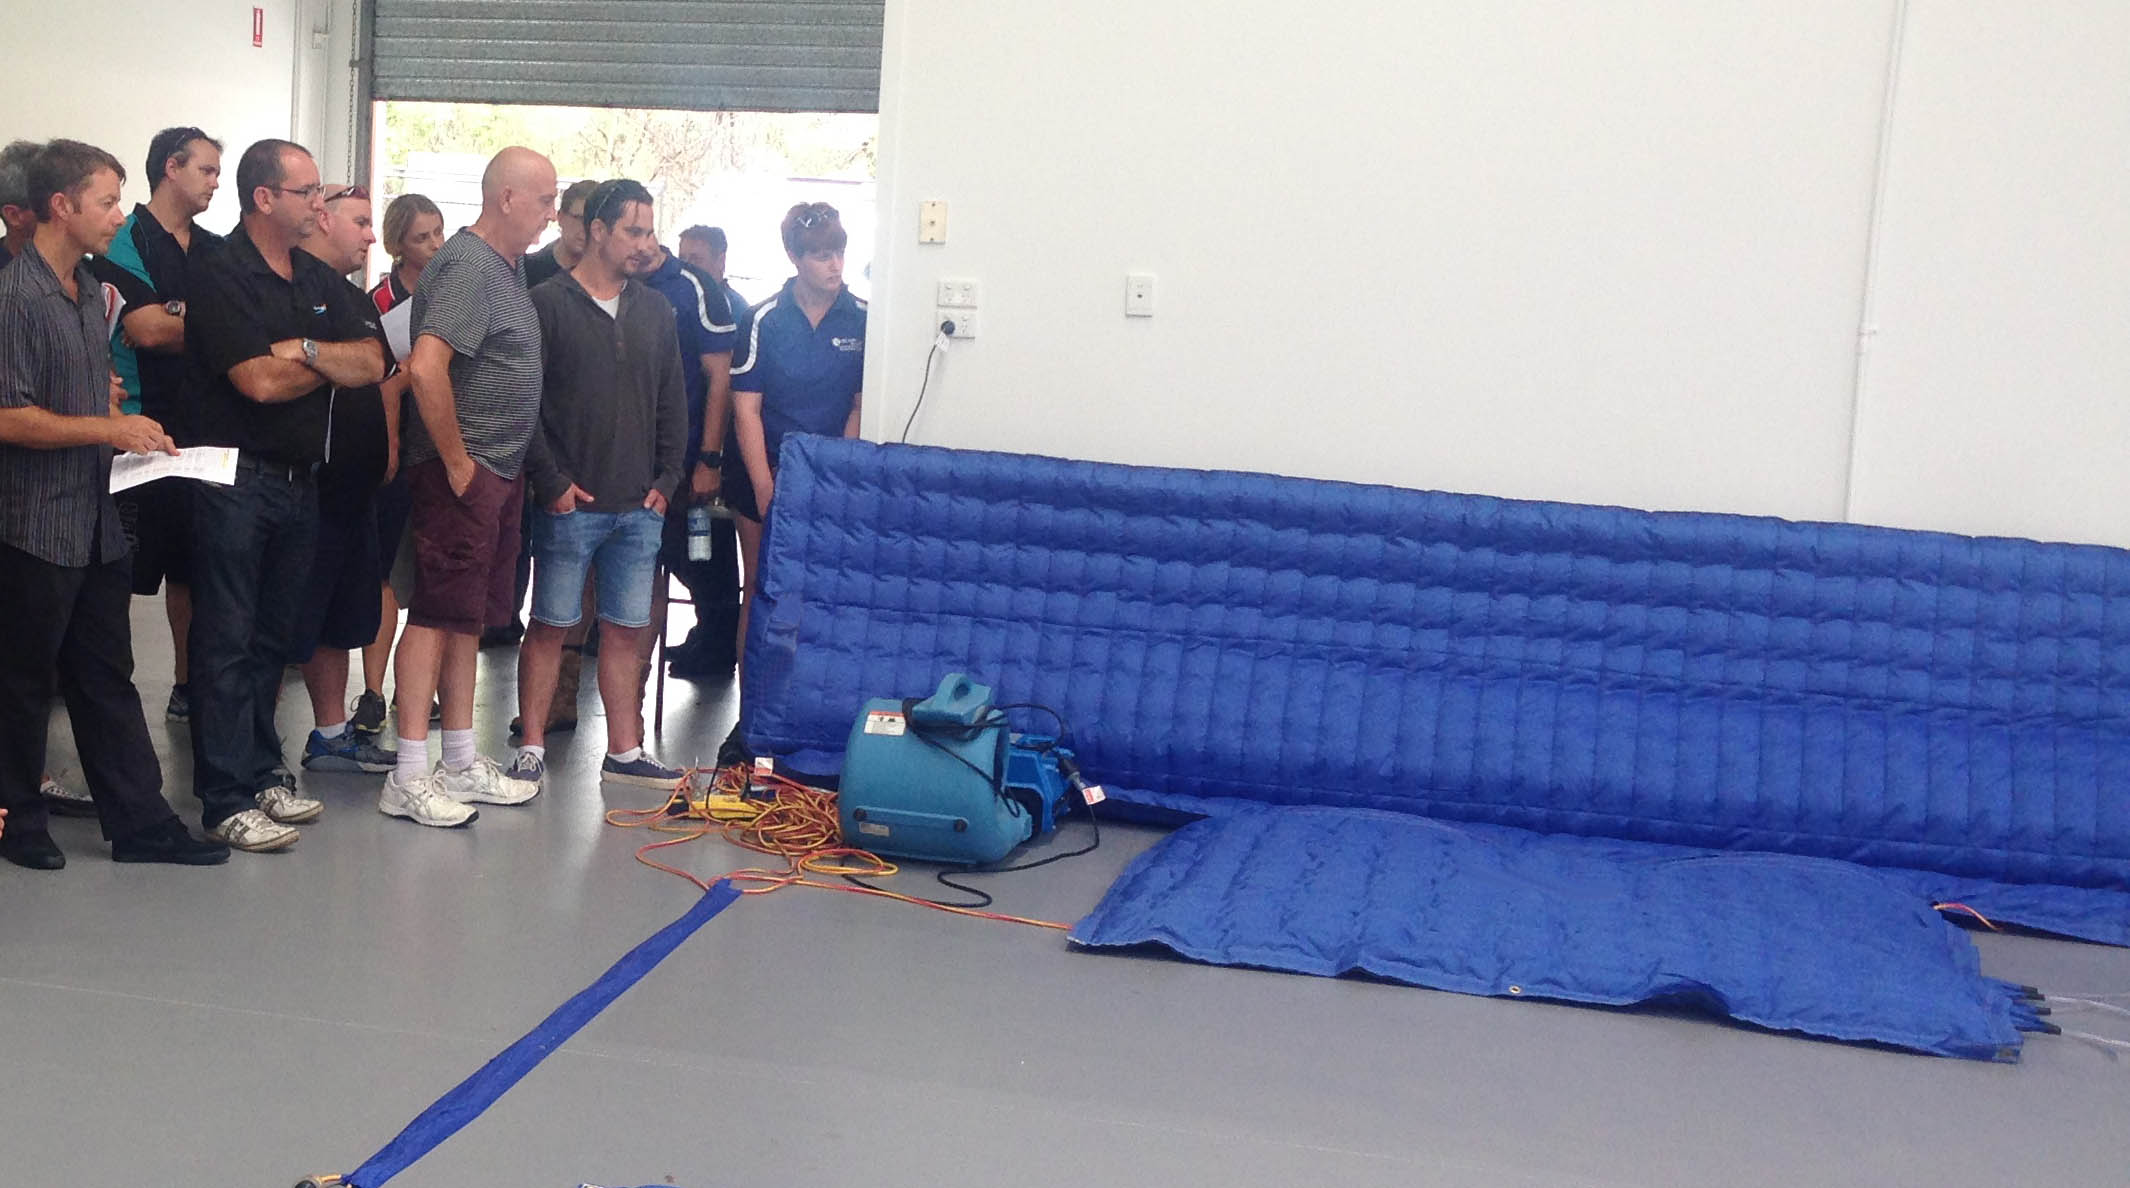
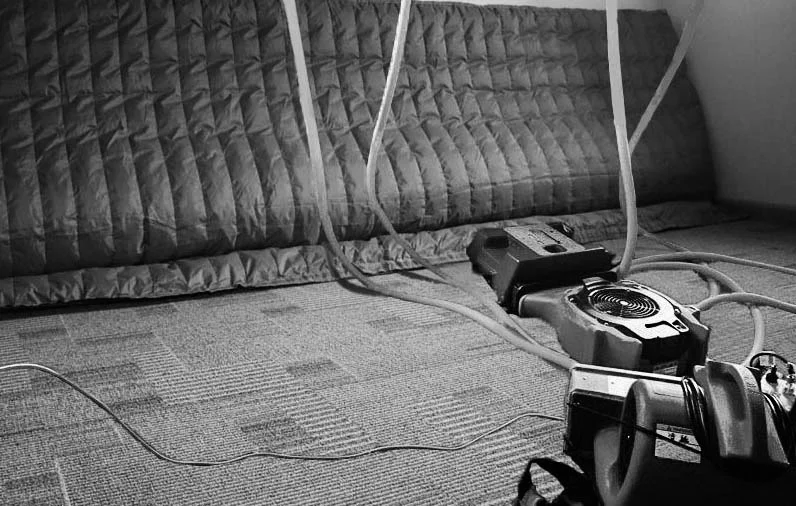
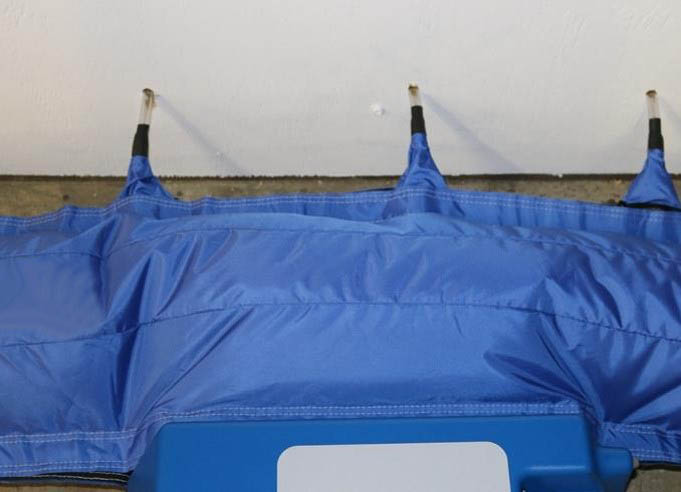
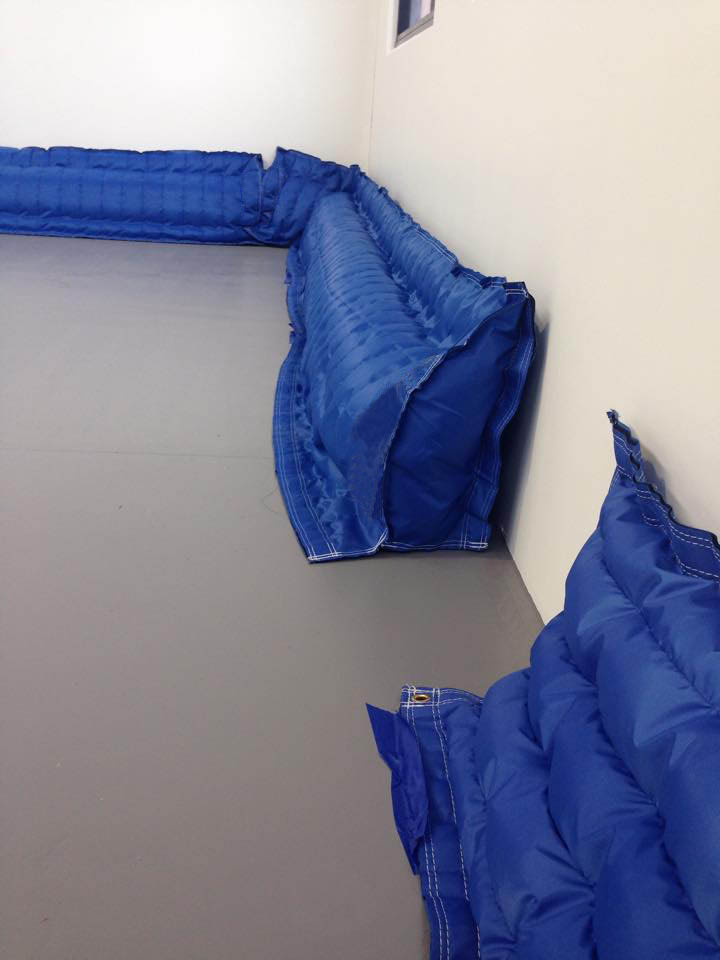
Target drying is the concept behind the latest contender to step into the wall and cavity drying arena. These new PVC mesh drying mats connect directly to a precision auxiliary heater. Air movement is typically provided by the air movers you already have on the job. These ‘pre-fab reusable tents’ are custom solutions to dry wall cavities, crawlspaces, or almost any hard to reach area. These lightweight options connect to your heat source, and Velcro together. They maintain size and shape, and evenly disperse hot dry air over the entire affected area through tiny micro-jets. This patented technology breaks the boundary layer of moisture, thus speeding up your process with no holes or tear out necessary. You can easily move them, walk on them, connect them together for larger losses, or attach injectors to accomplish more invasive drying when necessary. The wall-specific drying mats are designed to inflate and hold themselves against the wall. Micro-jets along the entire surface of both wall and floor ensure even heating all the way to the sill plate. If you lose power they fold down in an intentional pattern that allows them to resume correct positioning when the power returns. They come in a variety of setups, including perforated legs for drying in between joists, or in crawlspaces. Depending on your environmental conditions and the severity of the loss, you may want to also place a dehumidifier nearby with the dry air directed toward your setup. This has proven highly effective on all types of construc- tion, and the mat system is a great addition to your fleet.
This non-invasive, targeted heat saved the day. The techs dried the wall with a directed heat mat that was able to bend around the inside corner without losing function. This in turn, attached to a small floor drying version to address more surface area. An LGR was placed in the center of the room, as the windows were fixed pane. The perforated legs of what is dubbed, ‘the Octopus Solution,’ held heat in between the wet joists and along the base of the wall from under the house. No other standard equipment would fit into the crawlspace as it had a 16” clearance from dirt to subfloor on that end of the house. The leak under the toilet was addressed with a custom ‘Pedestal’ mat that consistently holds heat around the entire base (keeping in mind the max allowable temp to maintain the integrity of the wax ring, and setting the heater accordingly). This project was dry, the trusses were saved, and inspector ap- proved in 48 hours. No holes were drilled.
No one tool can do every job. You can’t build a house with only a hammer, but you better have one in your tool box. The size and severity of the loss, indoor and outdoor environments, even the access you have to the space you need to dry - all affect which equipment you decide to employ on a job. Sometimes tear out and reconstruction are the only choice. Sometimes you don’t need to make a single hole. The best solution for every situation is to diversify your fleet. Hopefully now you have a better assessment of what options are available to your team.
Steve Donboch

